2 DIY Decoration Projects For St Valentine’s Day

St Valentine’s Day is just around the corner and you’ve probably already made up your mind for decorations. But still, we have a few DIY suggestions for you.
1. DIY Can Lanterns
A DIY lantern with a few drilled holes in it and a simple candle will add a touch of rustic decor in your home. The items you’d need are simple and very budget-friendly.
1) Hammer with a few nails
2) Water
3) Small candle
4) Marker or pencil
Take a few empty cans and peel their labels off. Fill them with water and put them in the freezer. As the water is frozen it will fill the can and will prevent and won’t let the can concave and inwards. You could use a small piece of plastic tube instead of water or practically anything which will help you keep the tin curving it’s surface.
After you’ve prepared the metal container and draw dotted patterns on it. You can choose between any shape. After you draw the dots, take the nail and the hammer and make small holes. throw out the water, place a candle and voila – you have your DIY lantern for St Valentine’s Day decoration.
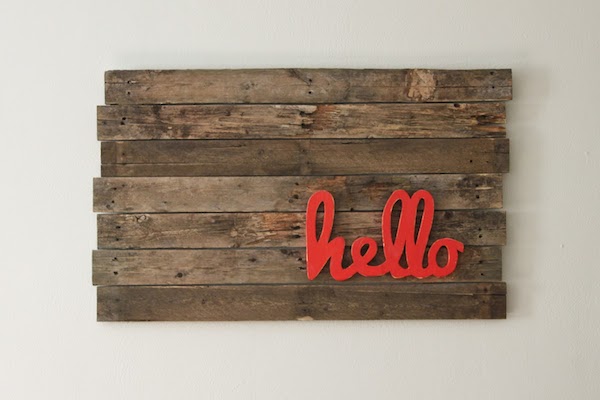
2. Pallet Wall Art

This idea is relatively easy to make. You might need more suppliers for this one, but, at least it’s not time consuming. What’s more it’s a great way to show your love to your significant one with this
1) DIY picture collage
2) Varnish or paint
3) Paint brush
4) Nails and screws
5) Hammer
6) Picture frames
7) L-brackets
8) Cordless drill
9) Level and tape measure
10) Pencil
11) Sand paper
* Paint First
Take the pallet case and use the sandpaper to make the wooden surface smooth. After you’re done with this, apply one coat of varnish or paint and leave it dry. If you wish to speed up the process, you can leave it in an airy place. If you want a more intense colour or tint, you can apply a second layer or the lacquer or paint. Your next step would be to affix the nails and hang the pictures. What you need to make sure, though, when you choose the photograph frames is they have a crossbar. Thus, you won’t have to attach a cord in order to hang them. Now comes the pallet hanging part.
* Hang It
Choose a spot to hang your DIY masterpiece, take the pencil and draw an X mark on one of the sides where you’ll attach the first L bracket. Take the tape measure and apply the width on the wall with the second X mark. Once you’ve done that, check if both of the marks make a straight line. In case you don’t have an actual level, you could use the smartphone level app to cope with this. If there are no corrections to make, drill holes in the wall in the respective spots, you’ve stamped with the pencil and attach the l brackets with the screws. Once you’ve affixed the brackets, check if they’re stable by pulling them down with your hands. And finally it’s time to hang the pallet masterpiece on the wall.
Remember, no matter what you choose to decorate your home with, take the necessary precautions. If you have a few wall art decoration pieces, you can always count on the Bob’s Odd Jobs team to help you with the task.

Just want to say your article is as surprising. The clearness in your post is just spectacular and I could assume you’re an expert on this subject. Thanks a million and please continue the gratifying work.